Home >> Seal >> Shaft Repair Sleeves
Shaft Repair Sleeves
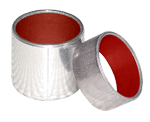
DMR Sleeves are precision stainless steel wear sleeves designed to prolong the life of damaged shafts and yokes by providing a new sealing surface that is superior to most original finishes and materials. Over time sealing lips can groove shafts due to factors such as dirt, heat, excessive water, lack of lubrication and high shaft speeds. DMR Sleeves offer a cost-effective alternative to resizing, metalizing or replacing severely damaged surfaces. DMR Sleeve’s low profile design means that the same size seal can be utilized and multi-lip oil seals can be accommodated. Equivalent to CR/National Speedi Sleeves
Technical Resources
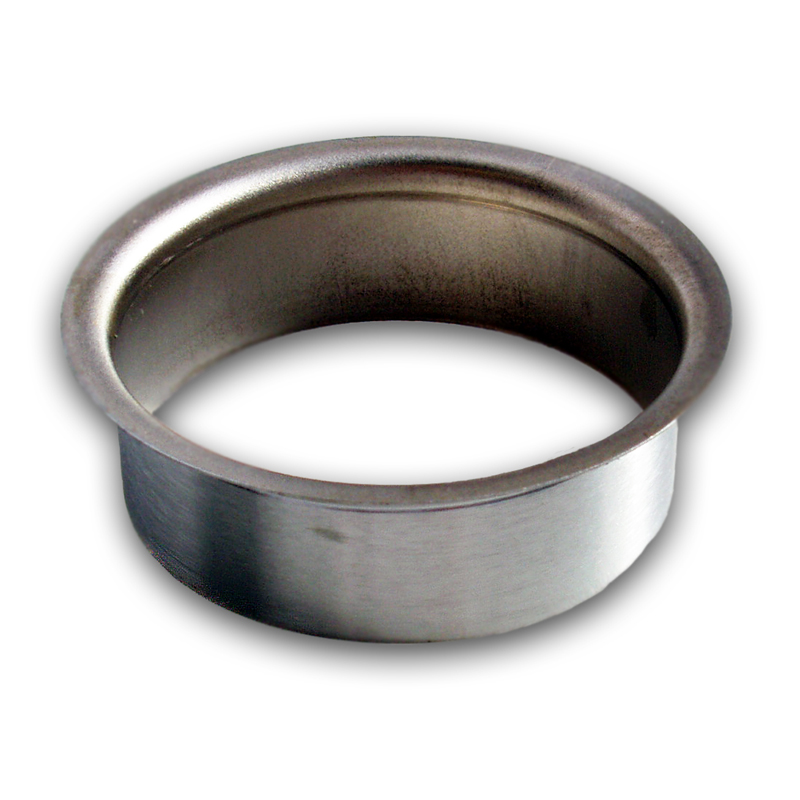
DMR Shaft Repair Sleeves
Material and Sizes
The DMR Sleeve is made from SAE grade 304 stainless steel, precision ground to a surface finish of 10 to 20 μin (0.2 to 0.8 μm). These thin walled sleeves are typically 0.011″ (0.28 mm) thick. Available for shaft diameters ranging from 0.622 inch to 7.005 inches.
Installation
•Clean all surfaces where the seal contacts the shaft. File down all burrs or rough spots.
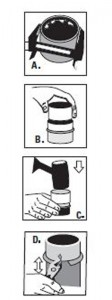
•Measure the shaft diameter in 3 locations just ahead of the wear path (not in wear track formed by the seal) – Fig.A. The average diameter should be within the range printed on the box label to ensure sufficient press-fit. (Cement not required)
•Mark the exact location on the shaft where the sleeve must be placed to cover the worn area.
•If the wear is deep, fill the worn area with metal type filler & install the sleeve before the filler sets.
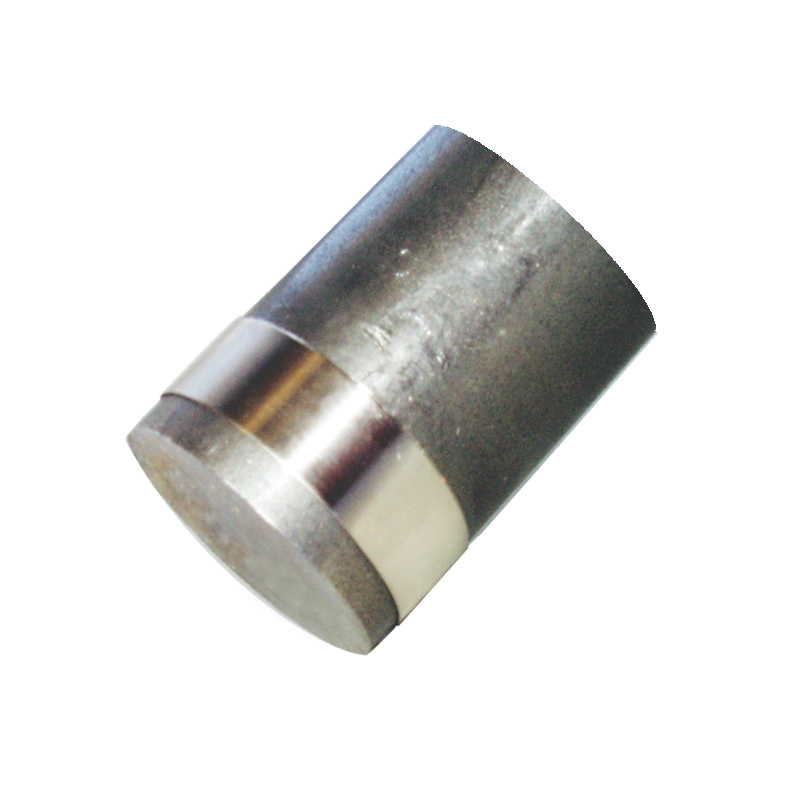
•Place the installation tool over the sleeve. Fig.B
•Hammer gently on the installation tool (or squared off tube of same diameter for longer reach) until the sleeve reaches the right location on the shaft. Fig.C
•Only if the flange removal is necessary:
a) Use side cutters to cut all the way to grooved line (preferably prior to beginning installation).
b) Fold the flange back & forth progressively along the groove to obtain clean undistorted break. Fig.D
Pulling action alone may cause unwanted damage.
•Keep the repaired area smooth & free of burrs.
•Lubricate before installing the seal.


