Home >> Slide >> Dryslide Bushings >> Bushing Checking Methods
Bushing Checking Methods
CHECKING METHODS
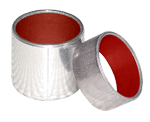
The main method for checking the wrapped bushings supplied by Daemar is to check the measurements of the internal and external diameters. Neither of the diameters can be checked before the bushing is fitted as a imperfect contact of the two edges leads to incorrect measurements.
The Standard (DIN 1494) specifies the valid method for measuring the internal and external diameters. The two methods are summarized below.
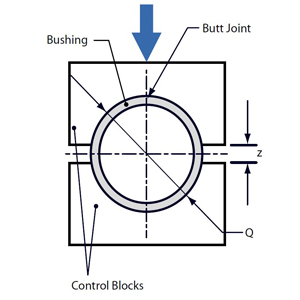
| Test A DIN 1494 | Part 2 (Ref. TFP 20 20) |
|---|---|
| Testing Housing and Mandrel | Q = 23.062 mm |
| Load | Fb = 4500N |
| Limits of Δz | -0.065 ≤Δz≤ 0 |
| Bushing Thickness 2.5 mm | F = 900 X L |
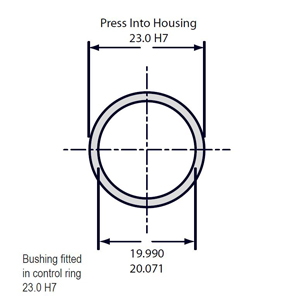
INTERNAL DIAMETER- TEST C
The bushing to be checked is fitted in the housing corresponding to the normal external diameter with the H7 tolerance. Once the bushing has been fitted, the internal diameter is measured and must fall within tolerance field shown on the relevant table of this catalogue.
EXTERNAL DIAMETER- TEST A
To carry out this test, it is necessary to have the testing equipment as provided for by the standard (DIN1494). The device consists of two half-shell shaped blocks in which the bushing is inserted and then pressed. The test consists of loading the outside of the bushing and measuring how much the bushing yields. If the amount of yield falls within a certain range, the external diameter of the bushing can be said to be correct.


